WatrWays Docs
The instruction manual for the water.
Every layer, every button, every workflow — explained once, in order. Start at the top or jump straight to the part you need.
/ 01 / Quick start
Three moves and you're on the water.
01
Open the map
No sign-in needed. Search a river or lake, or just pan to water you know. The map is organized around water, not roads.
02
Turn on layers
Tap the layers button (bottom-left) and switch on depth contours, shade relief, and lake conditions to read the water before you go.
03
Go live at the ramp
On your phone, tap Live. Your position, speed, and charted depth follow you in real time — and you can record the trip.
/ 02 / The map manual
Every layer, explained.
Tap the layers button in the bottom-left corner of the map to open this menu. Layers stack — most people run depth contours, shade relief, and 3D together. Anything with a gear icon has its own settings panel.
Maps
Pick how depth color is spread across the map. These two are exclusive — choose one.
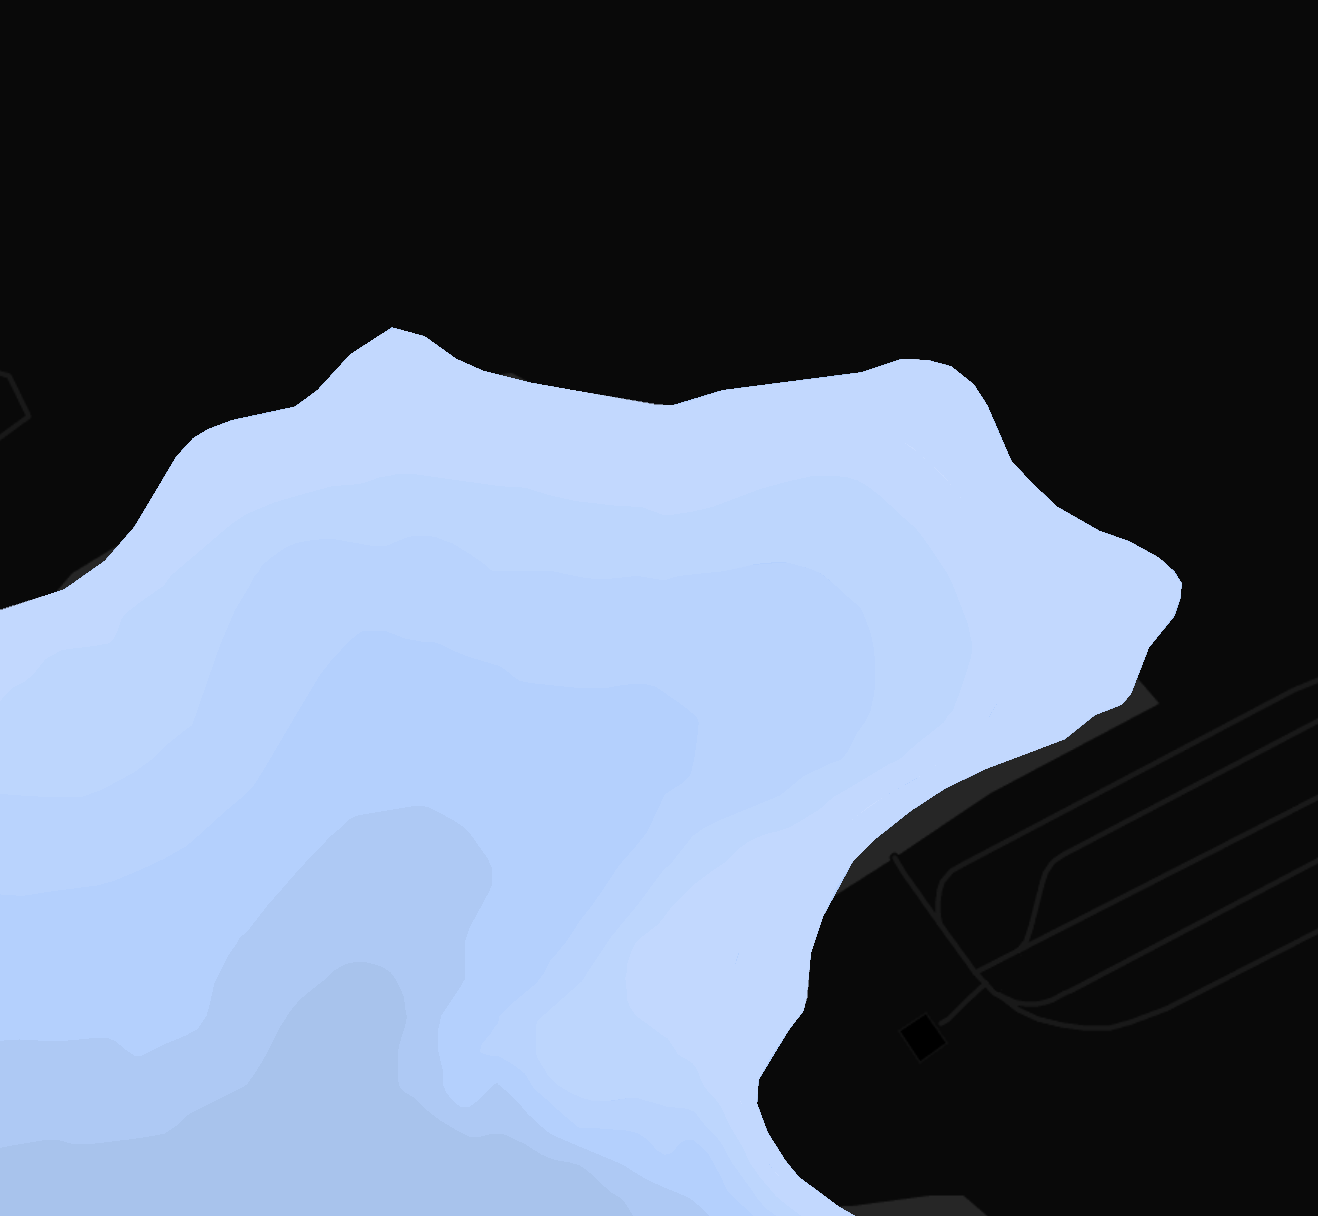
Low
Smooth depth gradient spread across the full depth range of the waterbody. Best for deep lakes where you want the whole range visible at once.
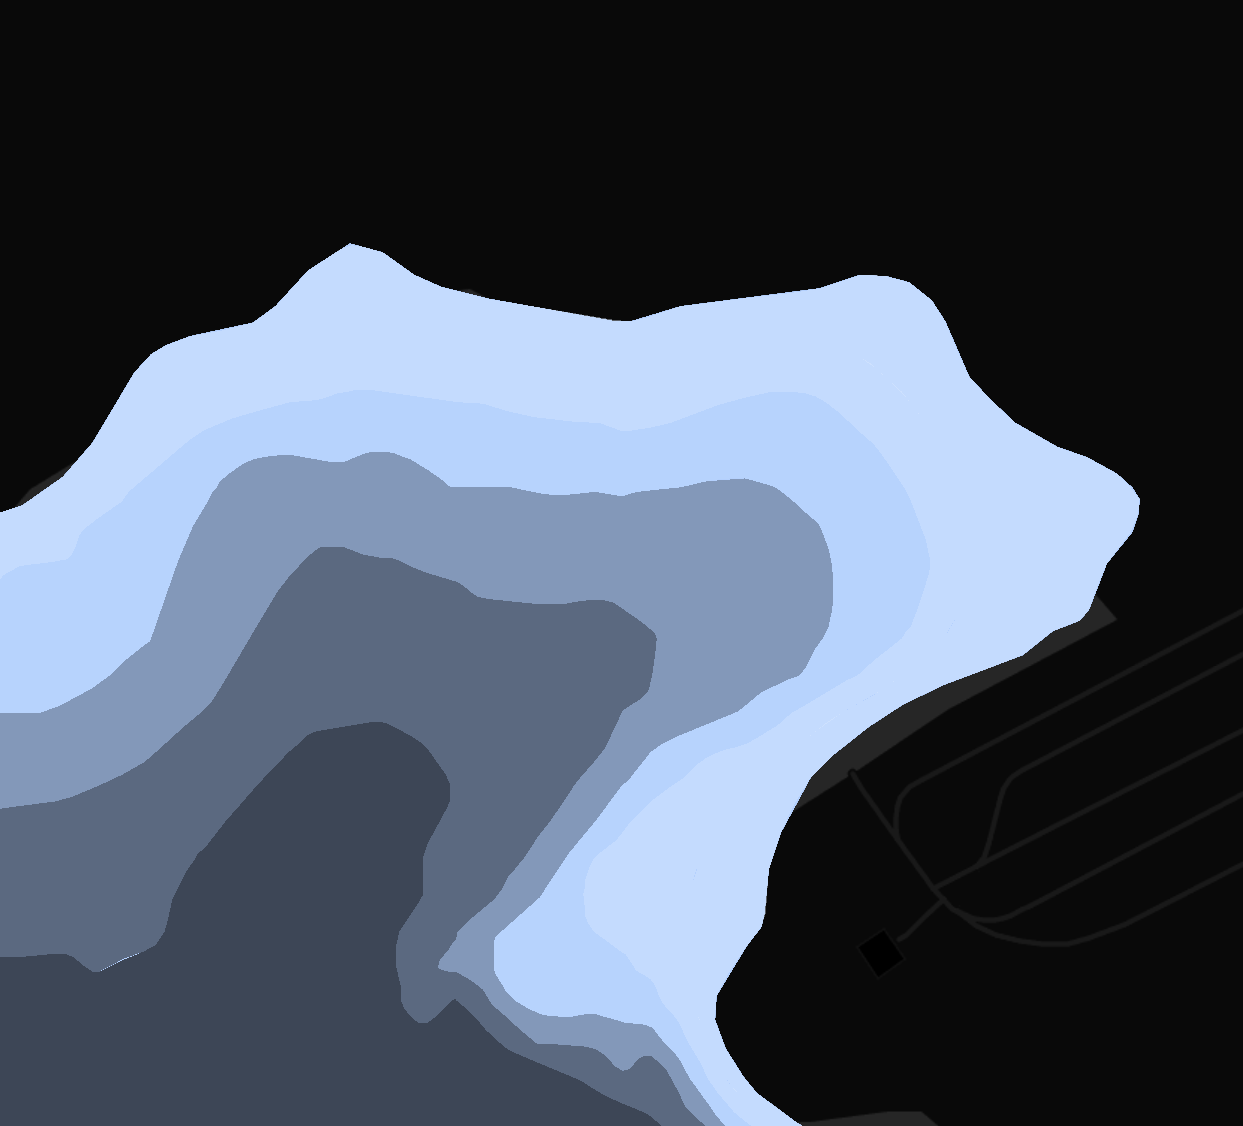
High
Tight depth bands — the full gradient is compressed into the first 38 ft. Best for shallow water and river running, where every foot near the surface matters.
Depth
The bathymetry itself — what is under the water.
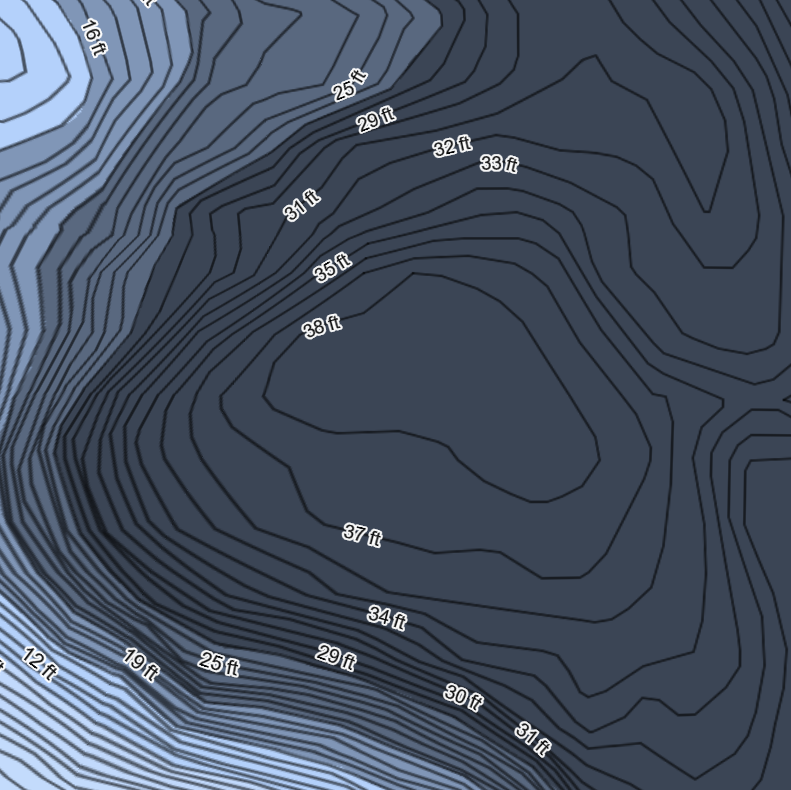
Depth contours
⚙ settingsBathymetry contour lines and underwater structure labels. Open the gear icon on this layer to adjust contour styling.
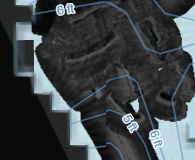
SideImaging
in developmentFish-finder side imaging layer. Currently in development — the toggle is a placeholder for now.
Terrain
The shape of the land and the bottom, plus real imagery.
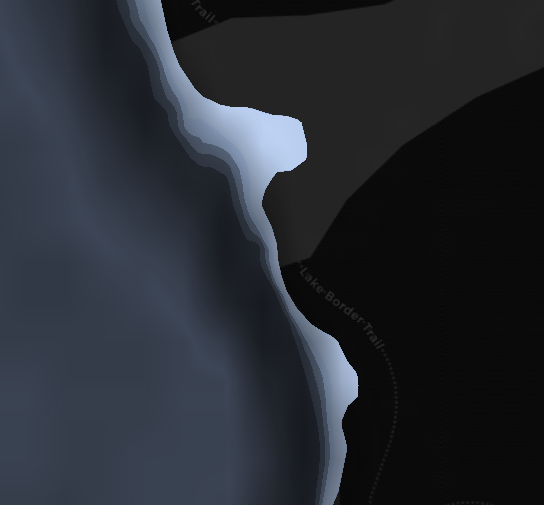
Shade relief
⚙ settingsHillshade and terrain relief so you can read bank shape, bluffs, and drainage at a glance. Gear icon opens hillshade settings.
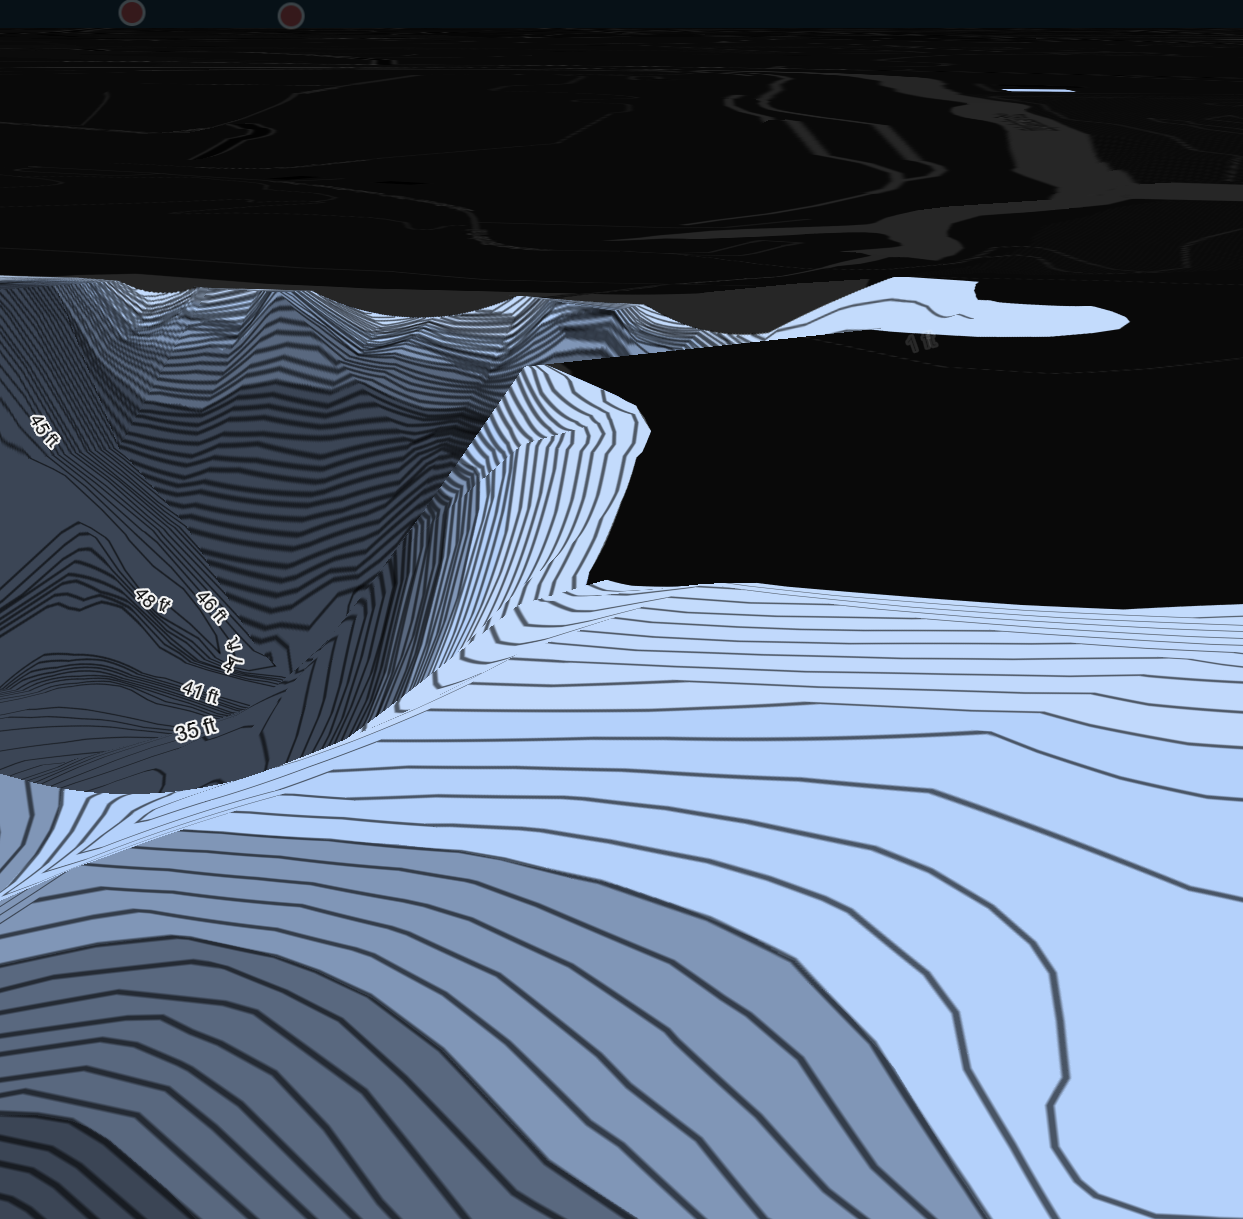
3D
⚙ settingsBathymetric 3D terrain — toggles depth exaggeration on and off so the bottom pops out of the map. Gear icon controls how strong the exaggeration is.
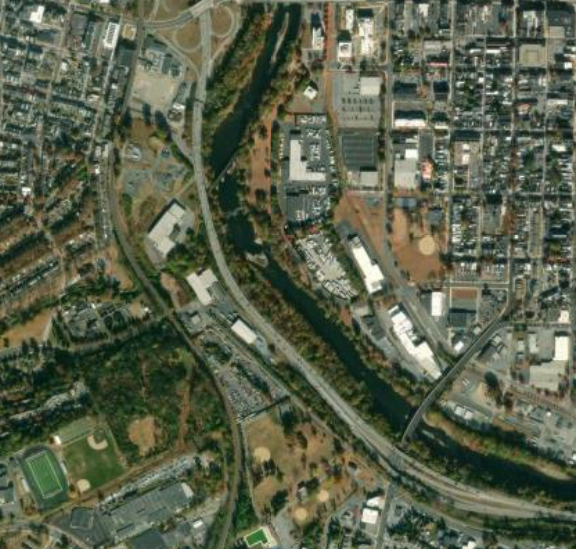
Water satellite
Recent satellite imagery clipped to the water. Zoom in on a waterbody to load it — a date timeline lets you flip between capture dates.
Water
How the water itself is drawn and what it is doing right now.
WatrWays
⚙ settingsHighlights every waterway on the map so rivers and streams stand out from the basemap. Gear icon lets you change the water highlight color.
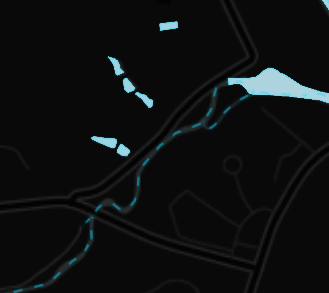
Flow Map
Animated river flow along the stream network. Click any stream to trace where the water goes.
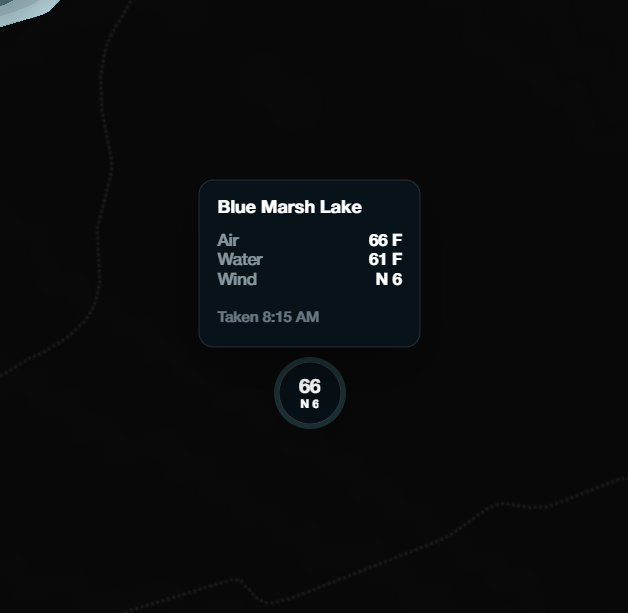
Lake Conditions
⚙ settingsLive condition bubbles — water temperature and weather statistics pulled from USGS gauges and the National Weather Service. Gear icon sets bubble size.
Live
Other people out on the water right now.
Live users
Shows WatrWays users who opted in to sharing their location from live mode. Sharing is always opt-in, from the live mode controls.
Nav Tracking
Your own recorded tracks.
Nav Tracking
⚙ settingsShows the routes you recorded with nav tracking in live mode, with your waypoints. Gear icon controls track color, style, and thickness.
Media
Photos and cameras contributed by the community.
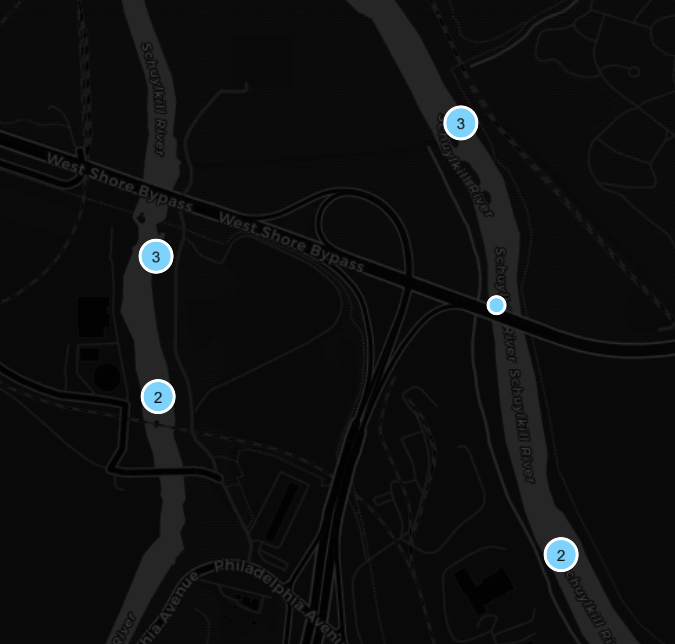
Community images
User-uploaded photos pinned to the exact spot they were taken. Click a cluster to zoom in.
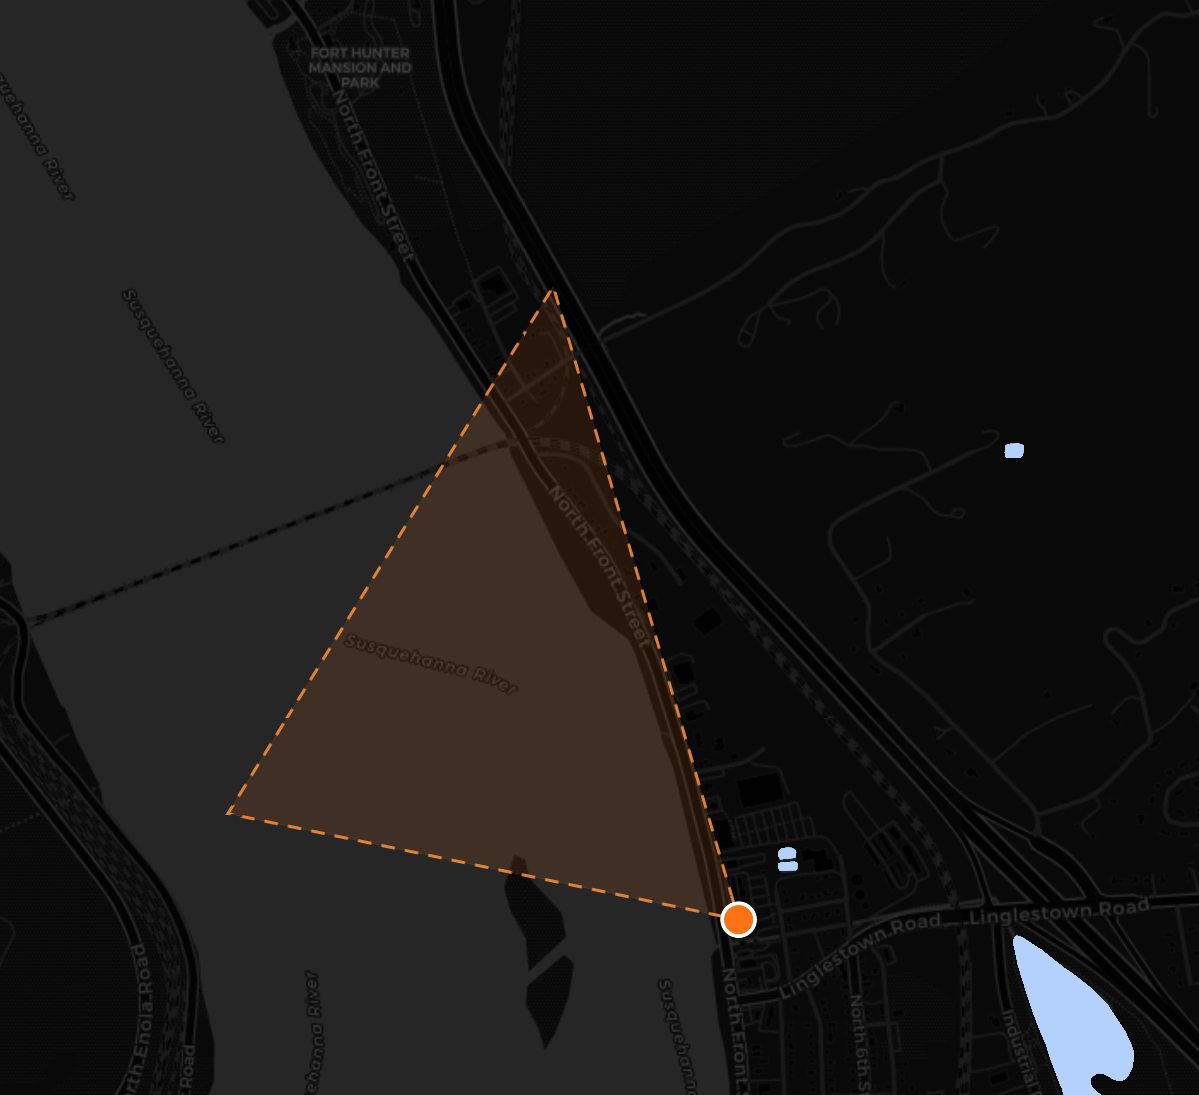
Live Cameras
Live stream camera pins with their field of view drawn on the map. Click one to watch the feed.
/ 03 / Map controls
The buttons on the map.
This is the bottom edge of the map screen. The numbers below match the numbered list.
- 1
Layers
Opens the layer menu described above. Everything you toggle is remembered for your session.
- 2
Live
Starts live mode (mobile). WatrWays asks for GPS permission, locks the map to your position, and swaps in the on-water controls. Requires sign-in.
- 3
Street view pegman
Drag the pegman onto any highlighted route to enter first-person street view of that stretch of water, captured by contributors.
- 4
Zoom
Zoom in and out. You can also pinch on touch screens or scroll on desktop.
- 5
Compass
Drag horizontally to rotate, vertically to tilt into 3D. Tap once to snap back to flat, north-up.
Also worth knowing: right-click (long-press on mobile) anywhere on the map for the context menu — pins, cameras, dams, photo uploads, and directions all start there. The search bar at the top searches waterways, not addresses.
/ 04 / Live mode (mobile)
Your phone, as an on-water instrument.
Tap Live on your phone and the map locks to your GPS position. The control column lives on the right edge of the screen — here is every button, numbered. Collapsed, only your active controls stay visible; the three-dot button expands the full stack.
Speed
4.2 mph
Depth
12.6 ft
Live mode on mobile — active controls highlighted.
- 1
Compass / 3D tilt
Drag vertically to tilt the camera into a 3D view. Tap to flatten. In live mode your heading follows your device orientation, so the map turns as you do.
- 2
Camera
Record video or take photos without leaving the map. Nearby USGS gauge readings are shown alongside the viewfinder.
- 3
Speed
Shows your current GPS speed as a floating readout — your phone becomes the speedometer.
- 4
Depth
Shows the charted water depth at your current position, read live from the bathymetry under your boat. A mobile depth reference as you move.
- 5
Share live location
Opt in to show your position to other WatrWays users on the Live users layer. Off by default; requires sign-in.
- 6
Nav tracking
Start or stop recording your route. Tracking pauses automatically if you leave the water and the finished track is saved to the Nav Tracking layer.
- 7
Drop waypoint
Drops a labeled waypoint at your current position — a good hole, a hazard, a spot to come back to. Requires nav tracking to be running.
- 8
Plan a route
Plans a safe-depth route between two points you pick, avoiding water shallower than your minimum depth. Optional voice alerts call out warnings as you run it.
- 9
More controls
Expands or collapses the full control stack. Collapsed, only the controls you currently have active stay visible so the map stays clean.
- 10
Exit
Leaves live mode and returns to the normal map. It sits in the same bottom-left spot the Live button was in.
Good to know: live mode needs a signed-in account and GPS permission. The depth readout is charted depth at your position — a reference layer, not a sonar replacement. Keep your own judgment (and your actual electronics) in the loop.
/ 05 / How-to
Common workflows, step by step.
Drop a pin
- 1Right-click (or long-press on mobile) anywhere on the map.
- 2Choose Pin from the context menu, give it a name, and choose public or private.
- 3Save. Signed-in pins follow your account everywhere; guest pins stay in your browser session.
Save pins & cameras for later
- 1Click the star on any pin or live camera to add it to your saved items.
- 2Open the saved panel from the header star to jump back to anything you saved.
- 3Saved items sync between the website and the desktop app when you are signed in.
Enter street view
- 1Look for highlighted route lines on the water — those stretches have first-person footage.
- 2Drag the pegman (bottom-right of the map) onto a route line.
- 3Use the on-screen arrows to travel along the route, just like street view on land.
Upload a route (360 footage)
- 1Open the upload panel from the map and select your footage — 360 video or images (MP4/MOV, HEVC ok; standard video works too). Optionally attach a GPX track.
- 2Start the upload. On the website, our servers process the footage; in the desktop app the same upload is processed locally on your machine.
- 3Once processed it becomes a first-person route — anyone can drop the pegman on it and travel down that water in street view.
Contribute sonar mapping (SL2)
- 1Install the WatrWays desktop app — mapping uploads are app-only, because the sonar processing runs on your machine.
- 2Open Account → Mapping and add your Lowrance SL2/SL3 sonar recordings. Preview the raw depth, GPS track, and side-scan first.
- 3Run the full processing, review the georeferenced survey, and submit. Nothing uploads until you approve it — and every log grows the depth data for everyone.
Plan a safe-depth route
- 1In live mode, tap Plan a route (the dashed-line icon).
- 2Set your minimum safe depth in feet, then pick a start and end point on the map.
- 3Tap Go. The planner routes you around water shallower than your limit, with optional voice alerts.
Report a camera or add a dam
- 1Right-click (or long-press) the spot on the map.
- 2Choose Camera to submit a live camera stream URL, or Dam to document a dam with its details.
- 3Submissions show up for everyone once saved — this is how the map stays current.
/ 06 / FAQ
Questions, answered.
Everything people usually ask before their first trip with WatrWays. Something missing?
Get in touchWhat exactly is WatrWays?
Do I need an account?
Is there a desktop app?
Is there a mobile app?
How do I upload footage or photos?
What are mapping uploads?
Where does the depth data come from?
Can I really use it as a depth finder?
How do I become a contributor?
What if something on the map is outdated or wrong?
What is Watr Guesser?
Does WatrWays cost anything?
Will there be turn-by-turn navigation?
Manual read. Water waiting.
Open the map and try the layers on water you know.